
How to perform a SAML trace
When asking for support, you may be asked to share a SAML trace to assist the support team in understanding your problem. This document gives step-by-step instructions on how to create one.
The 3 minute video version
For those who prefer their learning to be in video format, Adobe’s support team has put together a short primer on doing this:
You can replace references in their video to Adobe with the appropriate ones from below.
1. Install the SAML-tracer plugin
In order to perform a SAML trace you need a small plugin in your browser that records the SAML conversation.
The SAML-tracer plugin was developed by Uninett and is available for both Mozilla Firefox and Google Chrome. You can get it from:
- Mozilla Firefox: https://addons.mozilla.org/en-US/firefox/addon/saml-tracer/
- Google Chrome: https://chrome.google.com/webstore/detail/saml-tracer/mpdajninpobndbfcldcmbpnnbhibjmch
The plugin works identically in both browsers, and the remainder of these steps apply irrespective of which you choose.
2. Open the SAML-tracer window
SAML-tracer only actively records your connections when its window is open. To open the SAML-tracer window, you need to click on the newly added SAML-tracer icon in the plugins area. This is usually on the top right of your browser. SAML-tracer plugin icon
3. Log into a web site
At this point you should perform the login you wish to trace. Typically it’ll be a service that you’re having difficulty authenticating with, and you should complete the normal login process from the beginning as far as possible until the error or problem occurs.
While you’re doing this, you should see the SAML-tracer window recording the details of your transaction, including the SAML transactions (shown with the occasional orange SAML tags) that indicate an authentication process is occurring. SAML trace in progress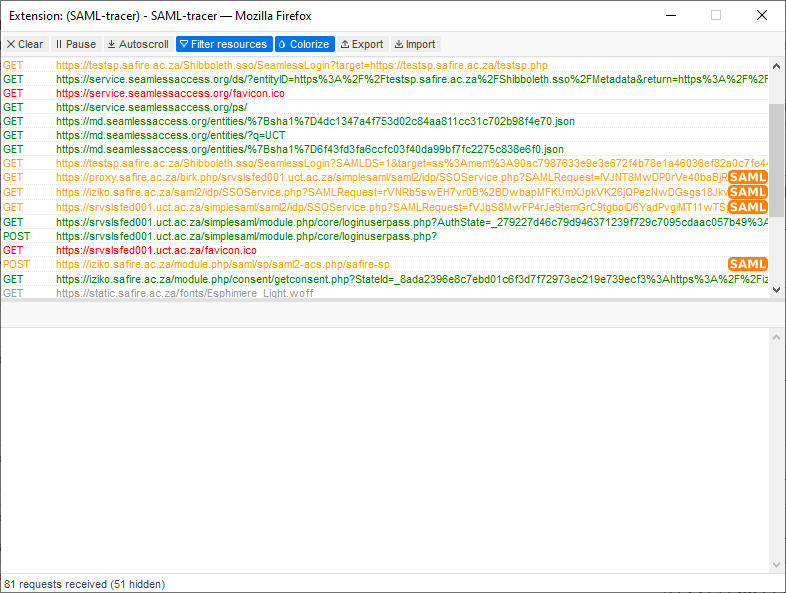
Note: It often helps to do this in a private or incognito window to ensure that any cookies previously set in your browser do not interfere with the trace. However, if you do this, you’ll need to allow the SAML-tracer plugin to run in private/incognito mode. You typically do this in the plugin/add-on settings of your browser.
3.5 Review the trace (optional)
If you’re interested in the details of what’s happening, and how your information is being transferred, you can view the steps in the SAML trace. To view a particular step, select it in the SAML-tracer windows and then click on the “SAML” tab to see the transaction. Our SAML primer might help you understand what is happening. Viewing the SAML trace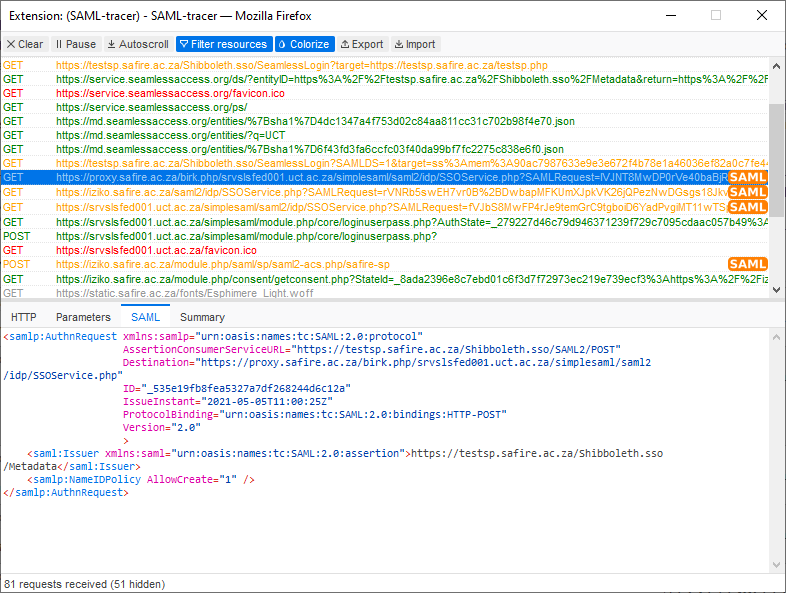
4. Export the SAML trace
The next step is to export the SAML trace by clicking on the “Export” button that’s on the top menu bar of the SAML-tracer window.
You may be prompted to select how to handle cookies in the export. For the most part, the default value of “Mask values” is okay and will preserve some of your privacy. However you might also be asked to send a trace with the cookies intact, in which case select “None”. Then click the “Export” button. Cookie preferences in the SAML-tracer export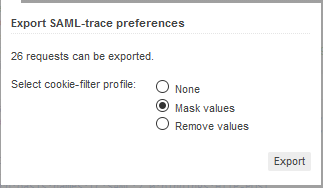
The result of the export will be a JSON file that is saved to your local computer.
5. Share the trace
You should send a copy of the SAML-tracer JSON file to the support tean who is assisting you. You can either do this directly via email, or you can make use of a file sharing service such as Filesender.
The JSON file will enable the support team to see exactly what happened in your browser while you were logging in. However, you should also share a screenshot or photograph of any error message(s) you saw in your browser window so the support team can see how they displayed to you.
You should be aware that the JSON trace file may contain some personally identifying information, in particular the values of the attributes shared by your identity provider.